Candle Making Kit Instructions

Welcome to our candle-making guide, where creativity meets craftsmanship. Whether you're an experienced maker or a curious beginner, this page is your go-to resource for mastering the art of candle making.
This guide is designed to accompany our Earl of East Candle Making Kit.
SHOP THE KIT
This guide is designed to accompany our Earl of East Candle Making Kit.

Before you begin
YOU WILL NEED
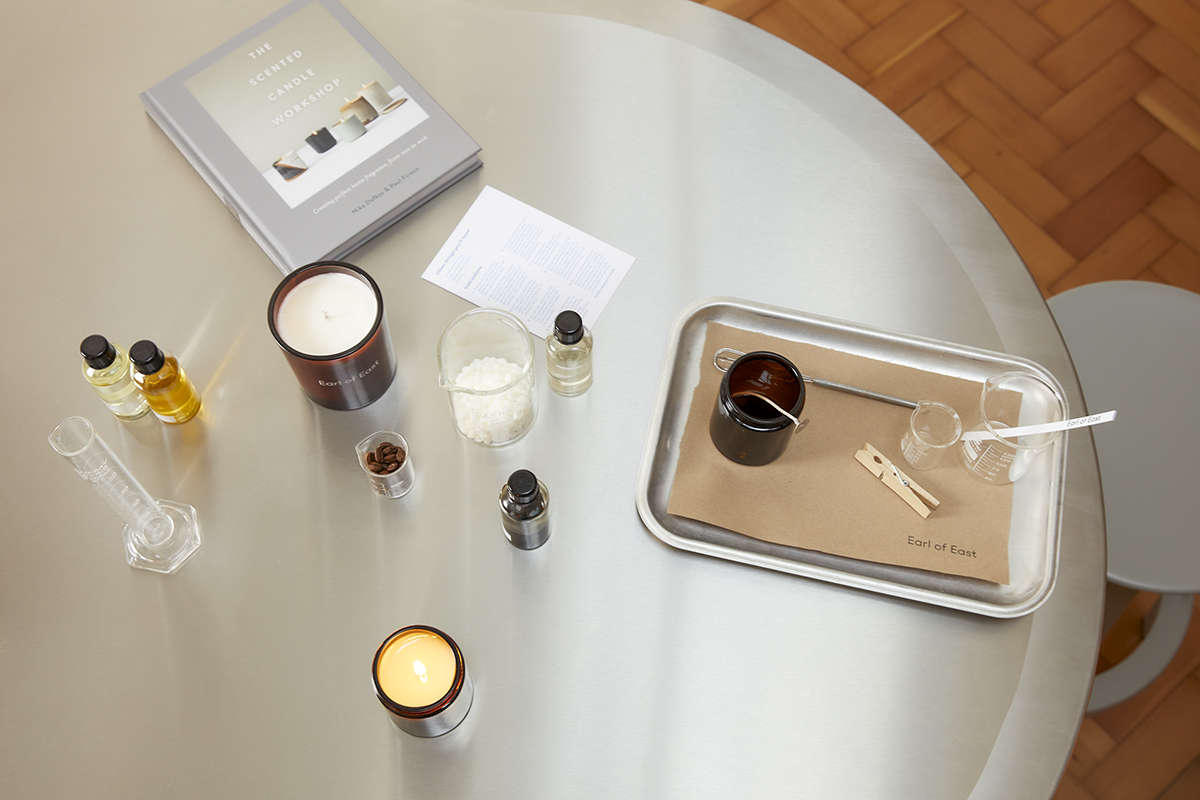
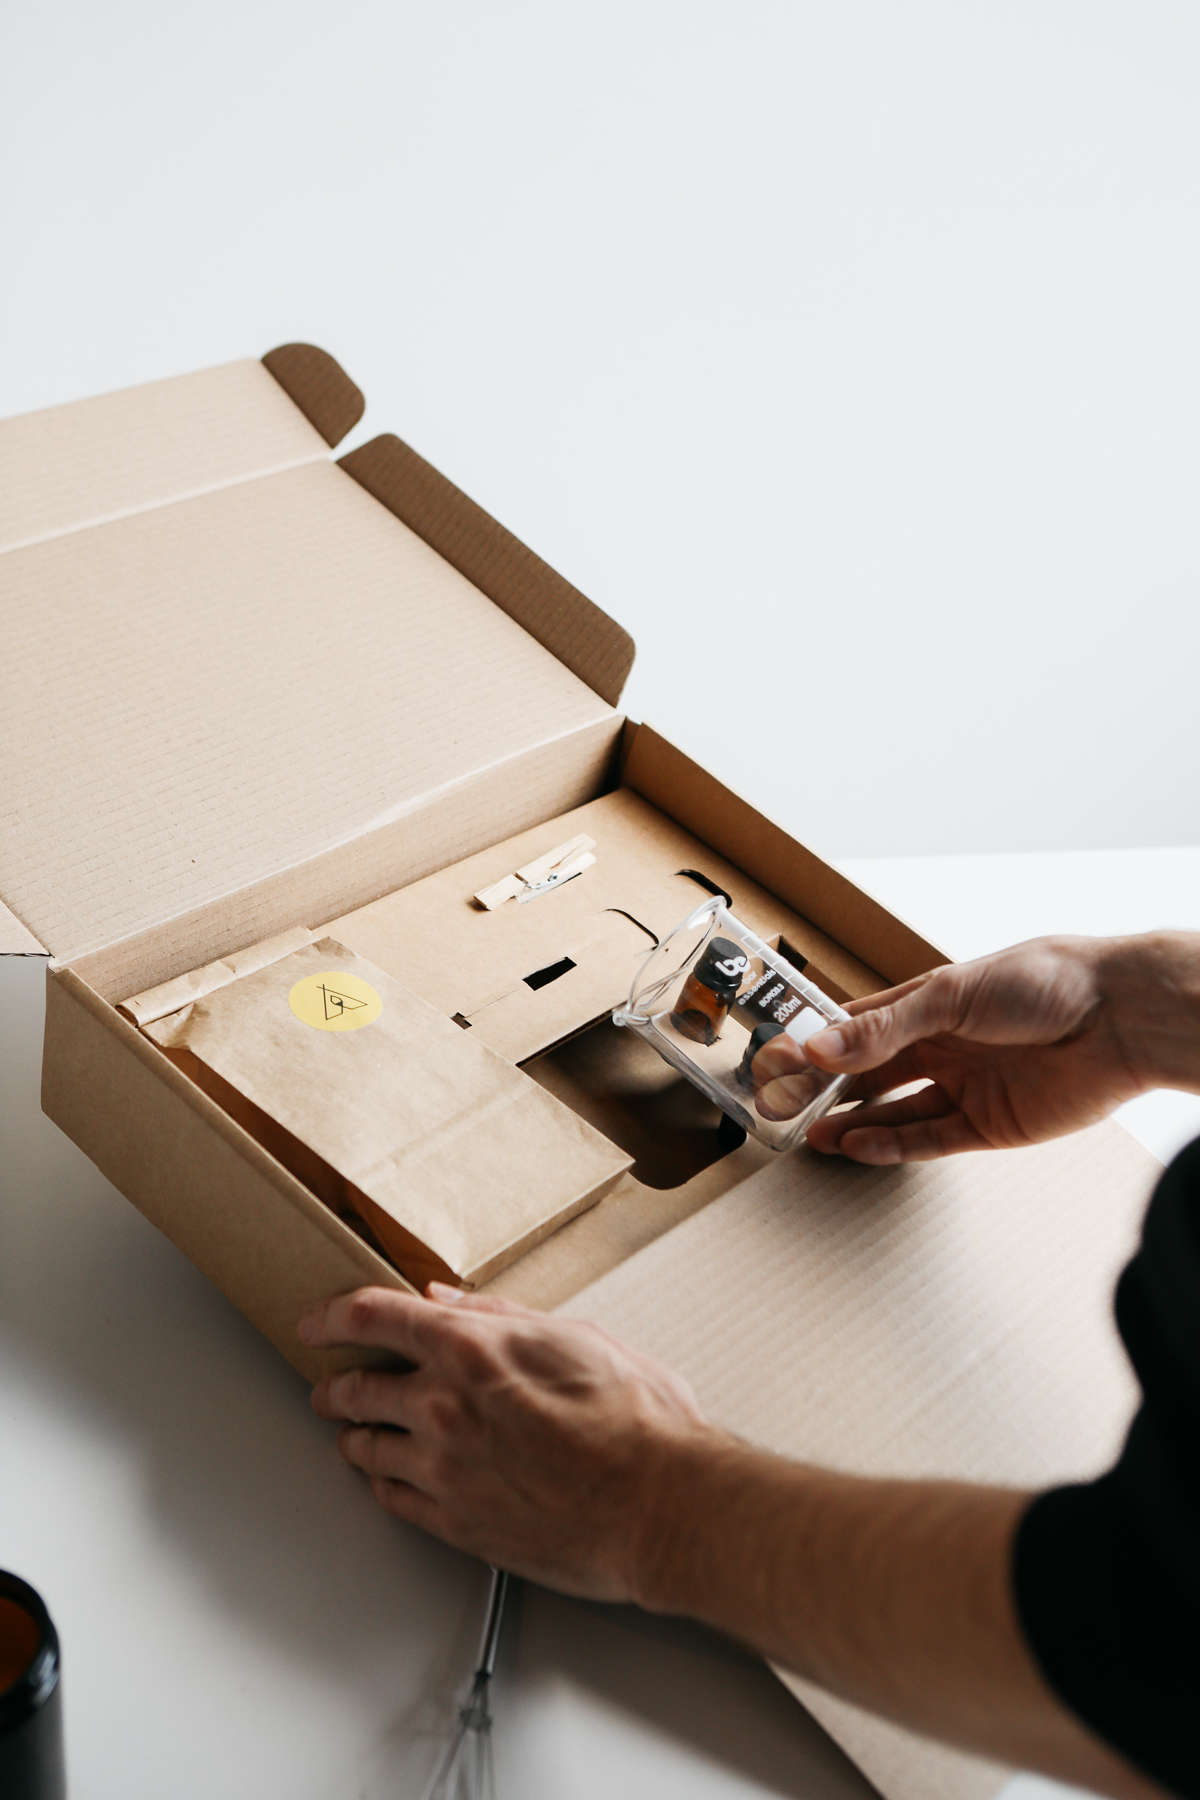
The Earl of East Candle Making Kit
A heatproof bowl or jug
A kitchen towel or cloth
Gloves
Scissors
USEFUL TIPS
When melting the wax you will notice it forms a clump in the middle. Remove the pan from the heat at this point to avoid the wax overheating.
Keep a cloth nearby to keep a tidy workstation.
Use a paper straw when attaching the wick to the bottom of your vessels. This will help with putting pressure on it.
Use a kitchen thermometer to check in on the temperature of your wax.
Always burn your candle for a minimum of 4 hours on the first burn for a nice, even burn.
Trim your wick in between every burn, this is going to help keep your candle burning for longer.
Clean your equipment with hot soapy water and washing-up gloves. Try to avoid letting any wax go down the drain.
Avoid making candles in unglazed / unsealed vessels.
Make sure your wicks are compatible with the diameter of your chosen vessels.

Instructions
STEP 1
Take the soy wax and place directly in the double-walled boiler pan or heatproof bowl set over a pan of boiling water.
STEP 2
Keep the boiler or pan on medium heat and stir occasionally until the wax is
fully melted. Make sure you don't overheat the wax. If it gets too hot, let it cool down to approx 65 - 75°C (149-167°F).
STEP 3
Start with your vessel. Using a glue gun or stickered wicks, attach the wick to the base of the vessel making sure it is centred in the jar.
STEP 4
You can now measure your oils. The recommended ratio of oil to wax should be around 10-14%. Make sure you don't exceed the upper limit.
STEP 5
By this point your wax should be ready. Pour the wax into the beaker or jug and start adding your oil blend. Pour it in, stirring slowly to ensure an evenly distributed blend of oil and wax. We stir clockwise and then anti-clockwise.
STEP 6
Place your wicked jar on a work surface covered with paper, in case of spillage. Push the wick away from the direction of the pour to the side of the vessel - this will stop the wick splitting the flow and reduce potential spillage.
STEP 7
You're ready to pour. We recommend leaving 5mm from the rim of the vessel, which is the perfect wick height.
STEP 8
Once you've poured your candle, move the wick back into the centre and use a peg, popsicle stick or chopstick. Create some friction between the peg and vessel to ensure the wick stays in place as the wax sets.
STEP 9
Allow your candle to set in room temperature, away from direct heat or a draft. Once solidified, remove your peg, trim your wick to size leaving around 5mm of wick, clean the jar if needed and set aside for 48 hours.
Finally, enjoy your candle.
Join us for a workshop in London
Join us for a beginners’ candle-making workshop, where one of our expert candle makers will guide you through crafting your very own signature scented soy wax candle.
